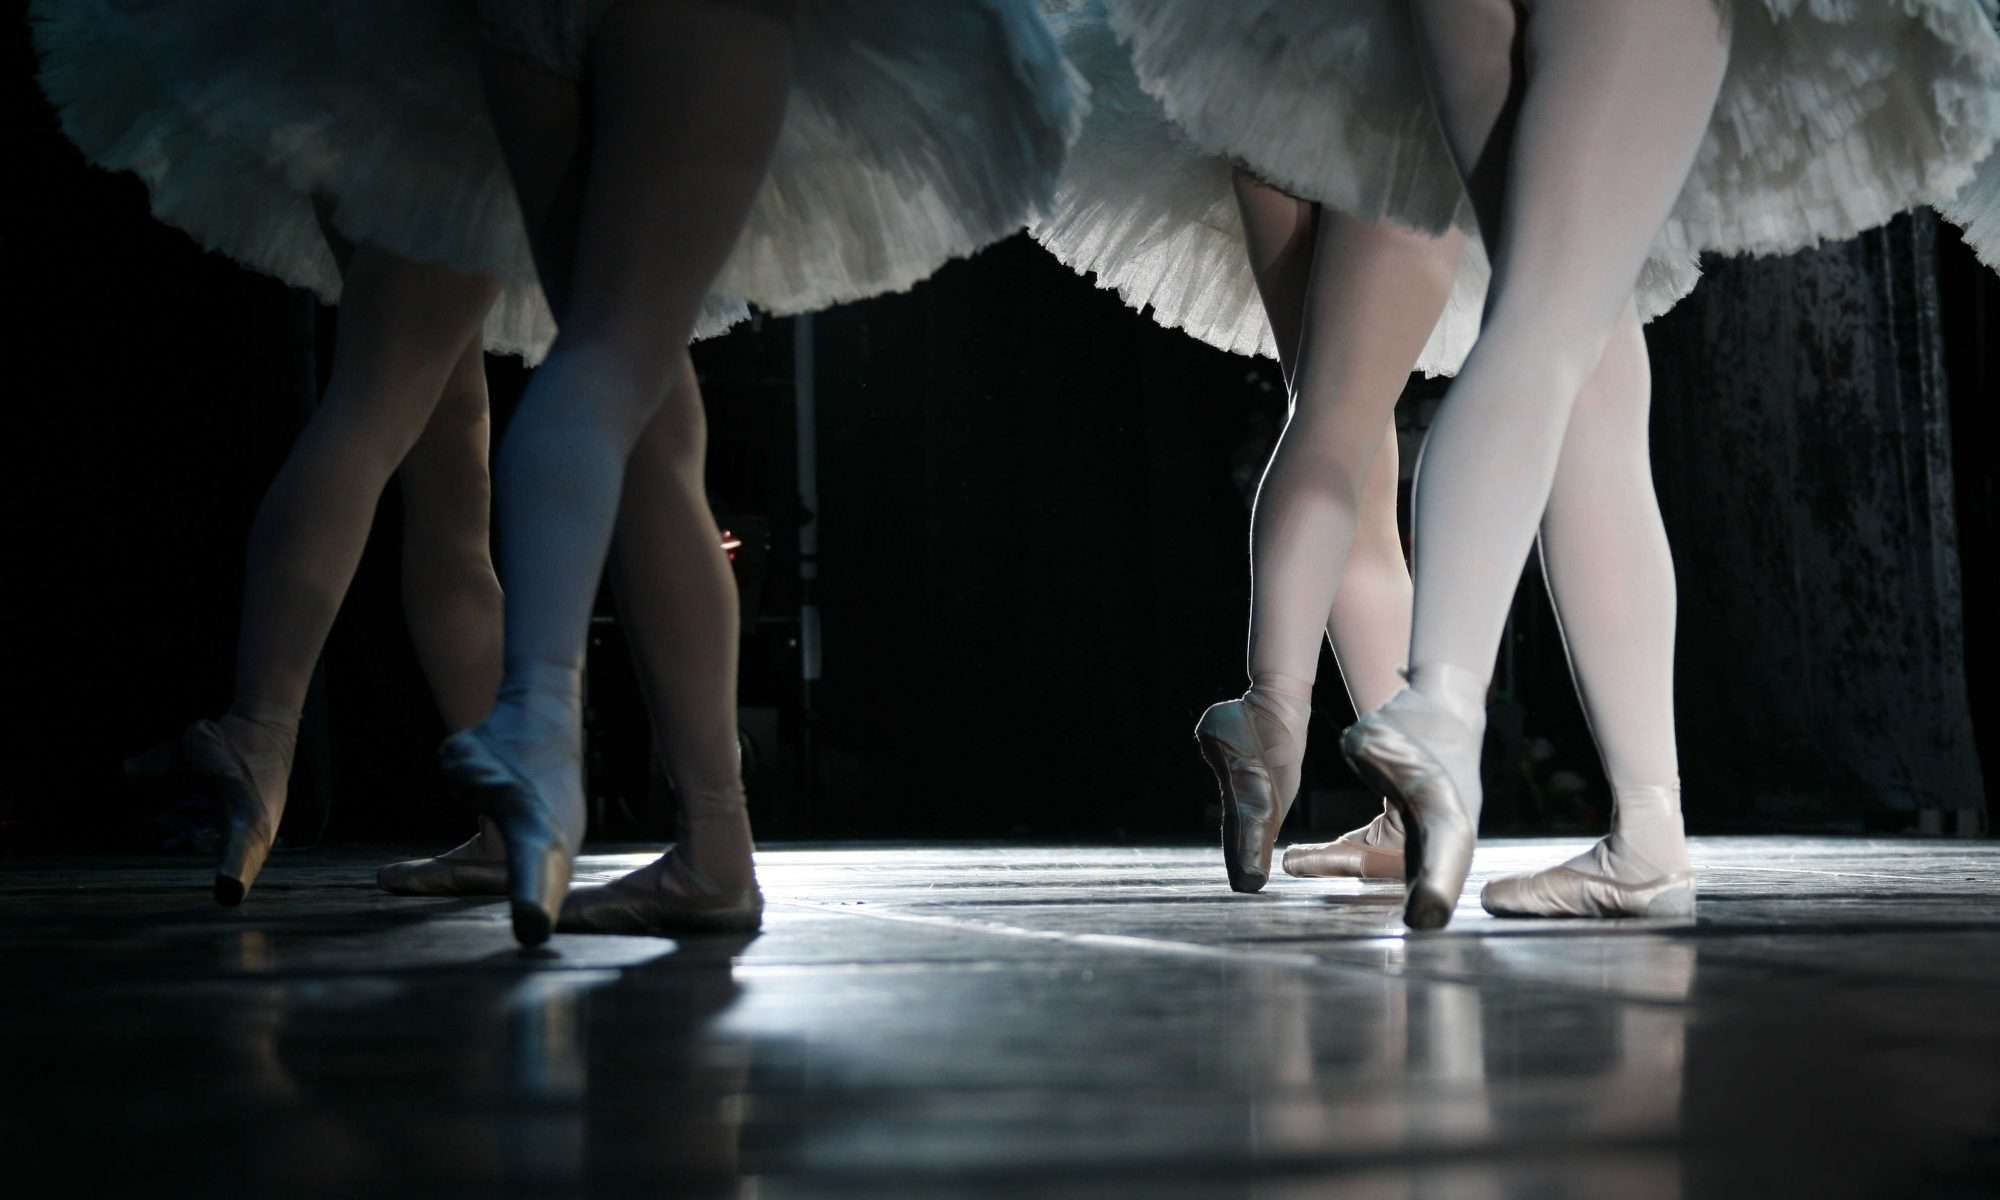
The fascination with pointe shoes and dreaming of the day you’ll actually get your first pair is surely part and parcel of growing up in ballet. Every young ballerina looks forward to this rite of passage. I remember when I was fitted for my first pair of Capezio pointe shoes at Kinney Dancewear in Indianapolis, Indiana–by Frank Kinney himself, no less! That was at least thirty years ago, and the store is still in business, having expanded to Louisville, Kentucky and on the web. My first impression was that the shoes were extemely painful, and there were lots of things that I needed besides just the shoes, such as lambs’ wool and ribbons.
I wore those shoes way beyond their lifespan; I had them at least a year because they aren’t cheap. Plus, as a beginner I didn’t know that they’d been worn past their time. All I knew was that they finally felt, well, vaguely comfortable. Back in those days we didn’t have the World Wide Web and cool YouTube videos that showed us how to break them in and how to tie the ribbons. We relied heavily on our teachers to impart that knowledge to us, and we learned from those who were older and more experienced in the ways of the pointe shoe.
When I grew up, I went to graduate school and I also danced with a company that was just getting off the ground in Tucson: Ballet Arts Ensemble, now known as Ballet Tucson. Needless to say, I was spending several hours a day in my pointe shoes, and was going through a minimum of a pair a week. Then I discovered Freed. I had switched to Bloch’s during my undergraduate days–feeling that the square box was a good match for my square toes and metatarsal–and then I fell in love with Freed. The great thing about them was that they were practically broken in without doing anything to them. They seemed to fit and move with my foot right from the very beginning. Unfortunately, they only lasted a couple of days. Alas, most of my financial aid went toward pointe shoes. But they really helped my dancing improve, because I was strong and didn’t need a hard shoe to force me to work to get en pointe. I didn’t need to fight with a shoe; I was so happy to find a shoe that worked with me and was an extension of my own foot.
There are lots of techniques people employ to break in their shoes, but the best by far is this one I found on YouTube offered by Lisa Howell in Sydney. Gently massaging the shoe at the top of the arch and at the break in the metatarsal will ensure that your foot is properly supported and that you are able to “work through” the foot as you go from a flat foot to demi-pointe, and finally to full pointe (and reverse). Click here to watch how to break in your shoes.
Some teachers have a preference for the style of shoe you should start out with, and some rely on the dancewear store to fit you properly. When I had my own dancewear store, we had some teachers who made a day of bringing in the students who were moving up to pointe work, and they worked with us to fit their students.
Other teachers wanted strictly Capezio or Sansha or Veronese. We carried more than twenty different brands of pointe shoes in our store because there are so many variations of feet. People with high arches usually did well in Grishkos, for example. Professionals often wanted Freeds.
It ran the gamut, but ideally your teacher will know what to recommend and the store personnel will know how to fit you properly. As long as you don’t sew the ribbon or soil the satin by standing in the shoes too much, you should be able to return them to the store for a different pair if your teacher doesn’t approve of them.
Your teacher will undoubtedly have opinions on what kind of padding (if any) you are allowed to wear with the shoes, if you should tape your toes or not, and will teach you the proper way to sew and tie the ribbons. For most teachers, this is a special time they are sharing with you as well; it’s a time they’ll remember because it’s one day they will have your complete, undivided attention!


